Prep Time: 35 Minutes · Cook Time: 65 Minutes · Total Time: 2 Hours 40 Minutes · Servings: 6 · Difficulty: Intermediate · Cuisine: Hyderabadi / Pakistani / Indian
If you have ever sat at a biryani restaurant, closed your eyes on the first bite, and thought — I need to learn how to make this at home — this is the recipe you have been waiting for.
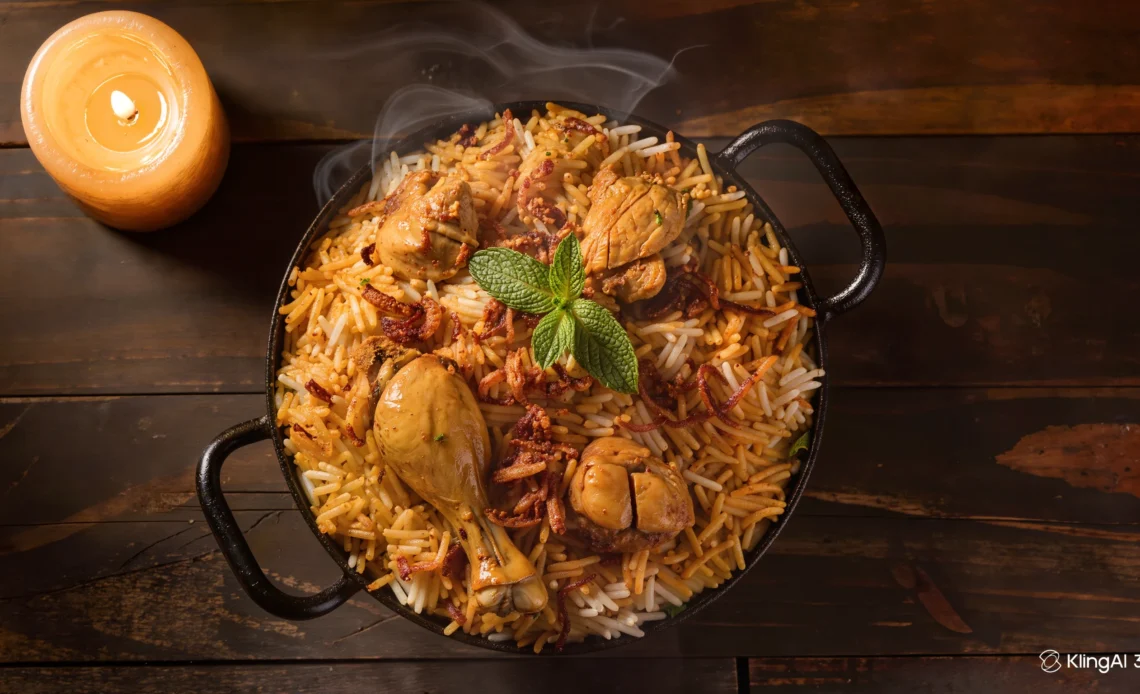
Not a weeknight shortcut. Not a dump everything in one pot and call it biryani. This is the real Hyderabadi Kacchi Dum Biryani — the one cooked in a sealed pot, where raw marinated chicken slowly steams under saffron-drenched rice, and every grain ends up fragrant, long, and perfectly separated.
I am going to walk you through every single step in detail, explain the why behind each one, and give you every tip I have learned from making this recipe more times than I can count. If this is your first time you will get it right. If you have made biryani before and never quite nailed it, you are going to understand today exactly why it did not work.
What Is Hyderabadi Dum Biryani?
Biryani is not one dish. It is an entire family of dishes, and each region of the Indian subcontinent has its own version — Lucknowi, Kolkata, Sindhi, Karachi, Ambur, and more. But when most people around the world say biryani, they are thinking of the Hyderabadi version.
The Hyderabadi biryani was born in the royal kitchens of the Nizams — the rulers of Hyderabad — sometime in the 17th or 18th century. It was developed by Persian-influenced chefs who brought a technique called dum pukht to the subcontinent. Dum pukht literally translates to breathe and cook. The pot is sealed shut and the food cooks in its own trapped steam — slowly, gently, and completely.
There are two main styles within Hyderabadi biryani. Kacchi biryani uses raw marinated meat layered with parboiled rice and cooked together in a sealed pot. The chicken cooks in its own juices and marinade steam, pushing fat and flavour upward through every layer of rice. This is the method we are using. Pakki biryani pre-cooks the meat before layering. The dum is shorter and mainly serves to marry the flavours. Good results, but not the same depth. Kacchi is harder. It is riskier. And it produces biryani that is in a completely different league.
Kacchi Method — No Shortcuts
Most recipe blogs cook the chicken before layering because it feels safer. This recipe does not. The raw chicken cooks under the rice during dum, releasing its juices downward, its fat upward, and its steam everywhere. The result is a depth of flavour that simply cannot be replicated any other way.
Rice Parboiled to Exactly 70%
Parboiling is the step most home cooks get wrong. Too far and the rice turns to mush during dum. Not far enough and it stays hard. This recipe tells you exactly what 70% done looks and feels like so you never have to guess.
Birista Made From Scratch
Fried onions are the soul of Hyderabadi biryani. Homemade birista has a sweetness, depth, and crunch that store-bought simply cannot match. The recipe also uses the leftover onion oil — one of the most flavourful cooking fats you will ever produce.
Double Layering With Saffron Milk
This recipe layers rice twice, with herbs, fried onions, ghee, and saffron milk between each layer. Those two distinct layers are what create the streaks of orange and white that are the visual signature of a real biryani. Single layer recipes skip this. Do not skip this.
Both Stovetop and Oven Options
No vague instructions. Real temperatures, real timings, and a clear explanation of why the heat progression matters. Whether you prefer traditional stovetop dum cooking or the convenience of an oven, this recipe gives you a foolproof method that produces restaurant-quality results every time.
Full Ingredients List
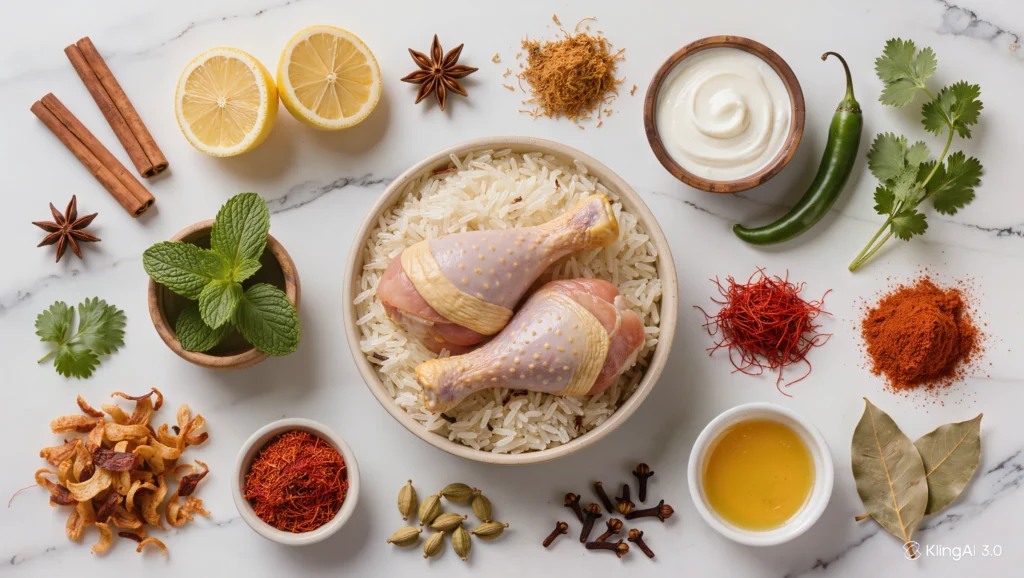
One of the biggest differences between average biryani and unforgettable biryani is ingredient quality. Long-grain aged basmati rice, fresh herbs, good-quality chicken, homemade birista, and whole spices all contribute to the final result. While substitutions are possible, using the ingredients listed below will give you the most authentic flavor and texture.
For the Chicken Marinade
- 1 kg bone-in chicken (thighs and drumsticks preferred)
- 1 cup plain full-fat yogurt
- 2 tablespoons ginger garlic paste
- 4–6 green chilies, slit lengthwise
- 2 tablespoons biryani masala
- 1 teaspoon Kashmiri red chili powder
- ½ teaspoon turmeric powder
- 1 teaspoon coriander powder
- 2 teaspoons salt
- 2 tablespoons lemon juice
- ½ cup crushed birista (fried onions)
- 2 tablespoons reserved onion oil
- ¼ cup chopped mint leaves
- ¼ cup chopped cilantro
For the Rice
- 3 cups aged basmati rice
- 12 cups water
- 2 tablespoons salt
- 2 bay leaves
- 6 green cardamom pods
- 8 cloves
- 2 cinnamon sticks
- 1 star anise
- 1 teaspoon shahi jeera
- 8 black peppercorns
- ½ teaspoon saffron threads
- ½ cup warm milk
For Layering and Garnishing
- 3 tablespoons ghee
- ½ to ¾ cup birista
- 1 cup fresh mint leaves
- ½ cup chopped cilantro
- 1 teaspoon kewra water (optional)
- Lemon wedges for serving
Equipment You Need
While Hyderabadi biryani has a reputation for being difficult, the truth is that the right equipment makes the process much easier. A heavy-bottomed pot helps distribute heat evenly during dum cooking, preventing the chicken from burning and ensuring the rice cooks perfectly.
- Heavy-bottomed handi or Dutch oven with a tight-fitting lid
- Large pot for boiling rice
- Wide frying pan for making birista
- Large mixing bowl
- Wooden spoon or rice paddle
- Tawa (flat griddle) for dum cooking
- Measuring cups and spoons
- Fine mesh strainer or colander
Step-by-Step Hyderabadi Chicken Biryani Recipe
Step 1 – Make the Birista (Fried Onions)
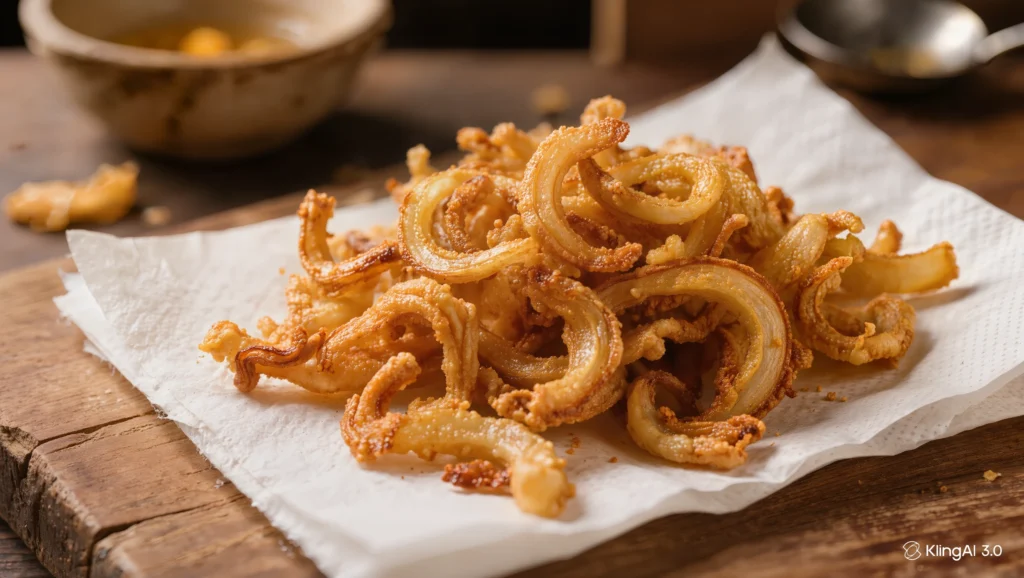
Heat the oil in a wide frying pan over medium heat. Add the thinly sliced onions and cook slowly, stirring frequently. The onions will gradually change from white to golden and finally deep brown. Remove them immediately once they reach a rich golden-brown color because they continue cooking after being removed from the oil
Transfer the onions onto paper towels and allow them to cool completely. They will become crisp as they cool. Reserve a portion for the marinade and save the rest for layering and garnishing later.
Step 2 – Marinate the Chicken

In a large bowl combine yogurt, ginger garlic paste, green chilies, biryani masala, Kashmiri chili powder, turmeric, coriander powder, salt, lemon juice, crushed birista, onion oil, mint, and cilantro. Mix thoroughly until a smooth marinade forms.
Add the chicken and coat every piece evenly. Cover and refrigerate for at least 1 hour, although 4 hours or overnight will produce significantly better results. The longer marination creates more tender and flavorful chicken.
Step 3 – Prepare and Parboil the Rice
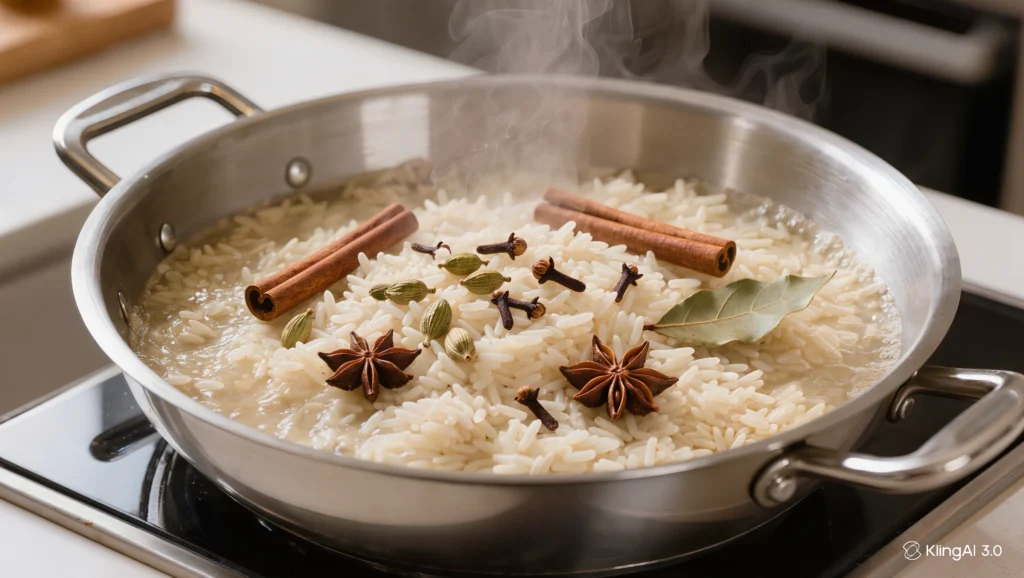
Wash the basmati rice several times until the water runs mostly clear. Soak the rice in cold water for 30 minutes. This step helps the grains cook evenly and stay long and fluffy after cooking.
Bring a large pot of water to a rolling boil. Add salt and all the whole spices. Drain the soaked rice and add it to the boiling water. Cook for about 5 to 6 minutes until the rice is approximately 70% cooked. The grain should still have a slight firm center when pressed between your fingers.
Immediately drain the rice and allow excess steam to escape. Avoid overcooking because the rice will finish cooking during the dum process.
Step 4 – Prepare the Saffron Milk
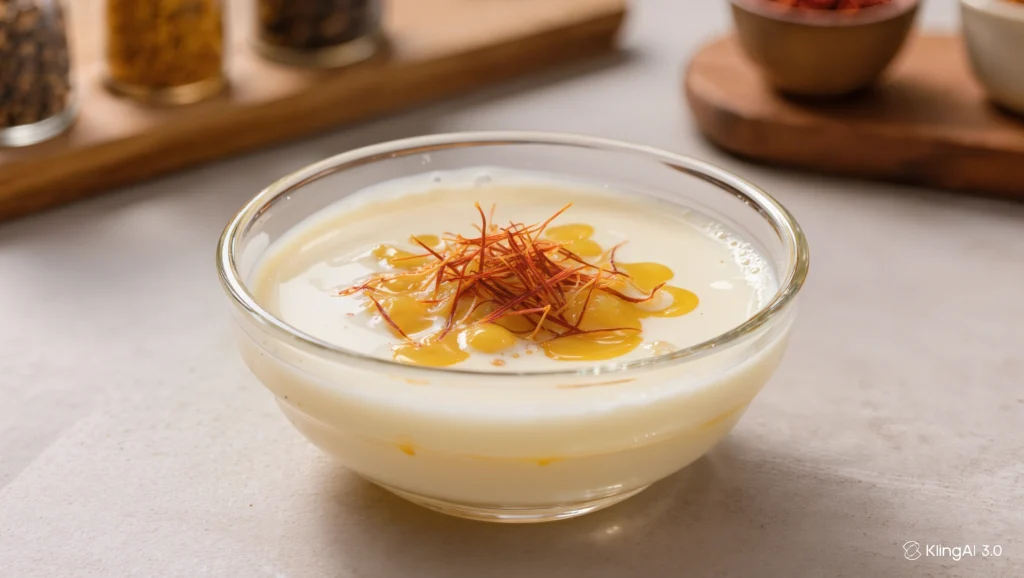
Warm the milk until hot but not boiling. Add the saffron threads and allow them to soak for at least 10 minutes. As the saffron blooms, it releases its color, fragrance, and flavor into the milk.
Step 5 – Layer the Biryani
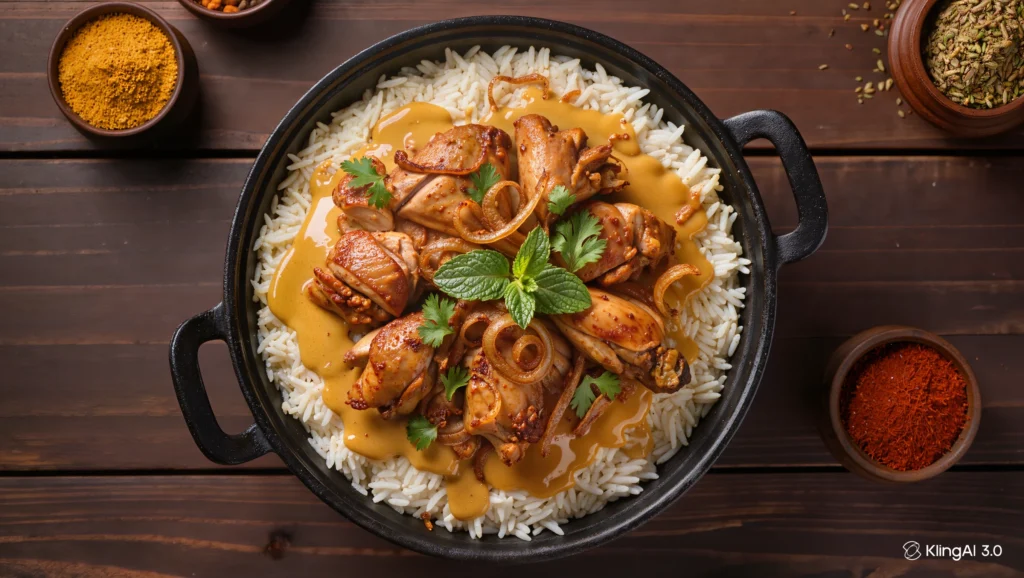
Grease the bottom of a heavy pot with a little ghee. Spread the marinated chicken evenly across the bottom. Pour in all the remaining marinade as well.
Add half of the parboiled rice over the chicken. Sprinkle mint leaves, cilantro, fried onions, a drizzle of ghee, and some saffron milk. Repeat the process with the remaining rice and toppings to create a second layer
Finish by drizzling the remaining saffron milk evenly across the surface. Add a few drops of kewra water if using. The pot is now ready for dum cooking.
Step 6 – Cook the Biryani on Dum
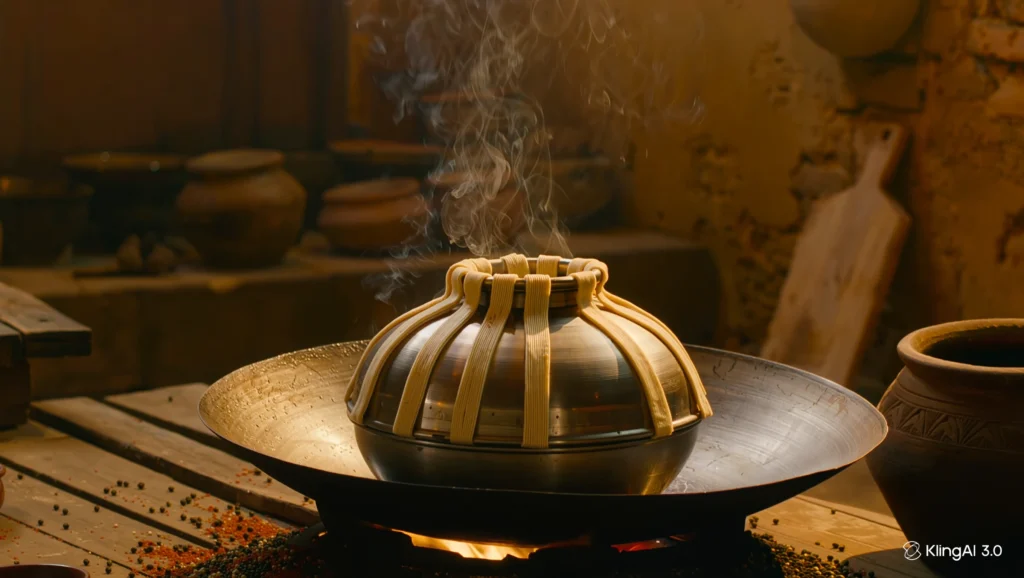
Seal the pot tightly using either aluminum foil under the lid or a rope of dough around the rim. The goal is to trap as much steam as possible inside the pot. This trapped steam is what slowly cooks the chicken while infusing every grain of rice with flavor.
Place a tawa on the stove and set the sealed pot on top. Cook on medium heat for 5 minutes to build steam, then reduce the heat to very low and cook for another 25 minutes. Finally, increase the heat slightly for the last 10 minutes. This gradual heat progression helps prevent burning while ensuring the chicken cooks completely.
If using an oven, place the sealed pot into a preheated 180°C (350°F) oven and cook for approximately 35 minutes. Both methods produce excellent results when done correctly.
Step 7 – Rest, Open, and Fluff
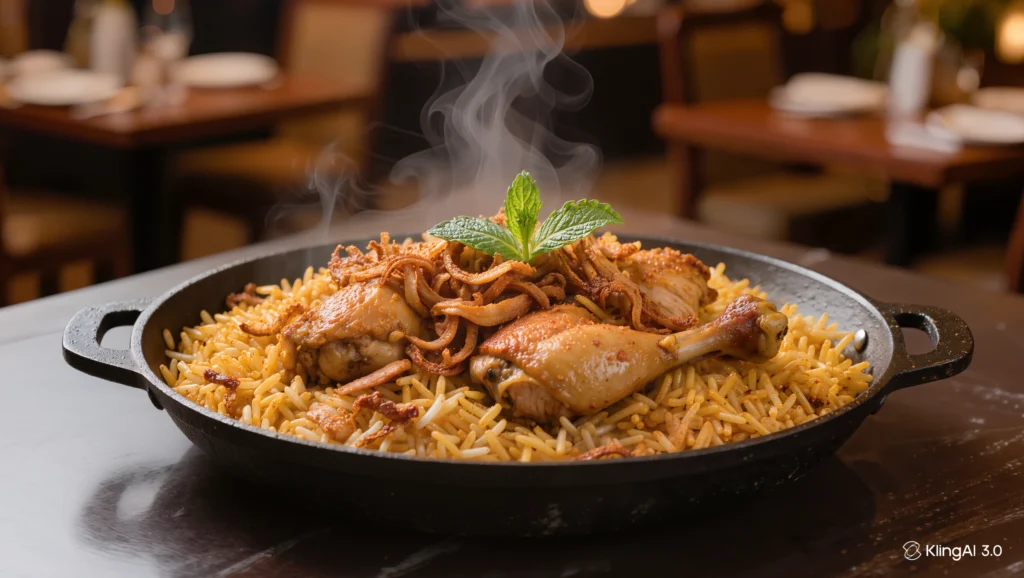
Once the dum cooking is complete, remove the pot from the heat and allow it to rest unopened for 10 minutes. This resting period helps the rice firm up and allows the flavors to settle evenly throughout the dish.
Carefully break the seal and lift the lid. You should immediately notice the aroma of saffron, spices, herbs, and perfectly cooked chicken. Using a rice paddle, gently fluff the biryani from the sides inward without aggressively stirring. This keeps the grains long and prevents the layers from becoming mushy.
Watch the Full Recipe Video
If this is your first time making Hyderabadi Chicken Biryani, watching the complete video tutorial before starting is highly recommended. Seeing the rice texture, layering process, and dum cooking method visually can help eliminate guesswork and improve your final result.
What to Serve With Hyderabadi Biryani
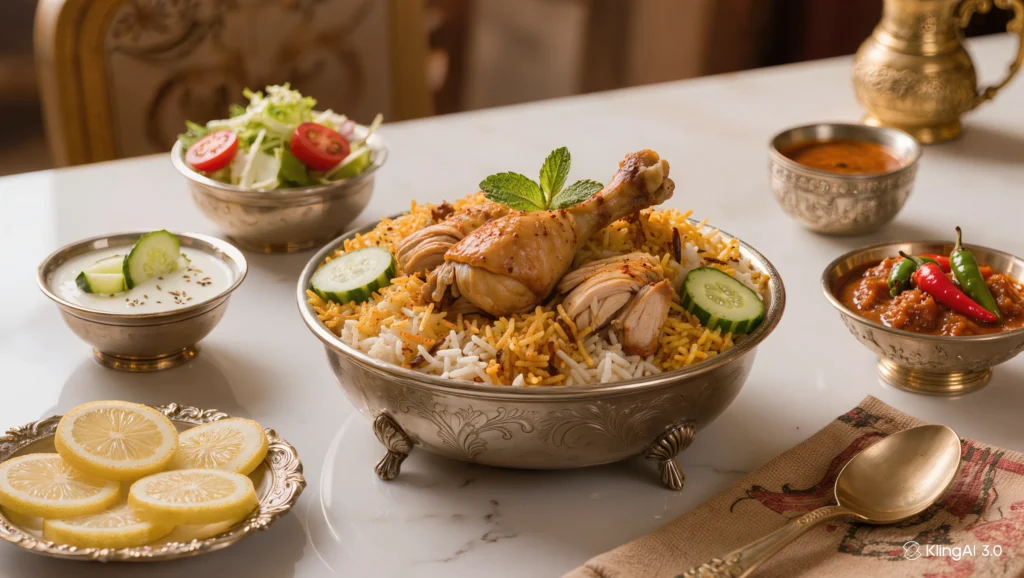
Although biryani is flavorful enough to enjoy on its own, traditional accompaniments add contrast and balance. Cooling yogurt-based sides help offset the spices while fresh salads provide texture and brightness.
- Cucumber Raita
- Mint Yogurt Sauce
- Mirchi Ka Salan
- Fresh Kachumber Salad
- Lemon Wedges
- Pickled Onions
Pro Tips for Perfect Hyderabadi Biryani
Use aged basmati rice for the best aroma and texture. Soaking the rice for at least 30 minutes ensures long, separate grains after cooking. Always fry onions until deep golden brown for maximum flavor depth.
Keep the dum sealed tightly—this is the most important part of the recipe. Even a small steam leak can affect the final texture. Cook on low heat patiently rather than rushing the process.
Common Mistakes to Avoid
- Overcooking rice before layering
- Using too much water during dum
- Skipping onion caramelization
- Not sealing the pot properly
- Stirring the biryani during dum cooking
- Using very high heat for long duration
Variations
You can easily customize Hyderabadi biryani based on preference. Replace chicken with mutton for a richer version, or use vegetables for a lighter alternative. Some versions also include boiled eggs or potatoes for added texture.
Storage & Reheating
Store leftover biryani in an airtight container in the refrigerator for up to 3 days. For best results, reheat on low heat with a splash of water to restore moisture without drying out the rice.
FAQs
FAQ (Frequently Asked Questions)
1. Why is my biryani sticky or mushy?
This usually happens when the rice is overcooked before dum or too much water is used. Always cook rice to about 70–80% before layering and avoid stirring during dum.
2. Can I make Hyderabadi biryani without dum cooking?
You can, but it won’t have the same authentic flavor. Dum cooking is essential because it traps steam and allows the rice and chicken to cook together evenly.
3. Which rice is best for biryani?
Aged basmati rice is the best choice. It gives long, separate grains and a strong aroma that is essential for authentic biryani.
4. How do I reduce the spice level?
You can reduce green chilies and red chili powder. Adding extra yogurt or serving with raita also helps balance the heat.
5. Can I use boneless chicken?
Yes, but bone-in chicken is recommended because it adds more flavor and keeps the meat juicier during dum cooking.
6. How long should I cook biryani on dum?
Typically 30–40 minutes total on low to medium-low heat, depending on the quantity and heat source.
7. Why does my biryani smell burnt?
This usually happens due to high heat or improper sealing. Always cook on low flame and ensure the pot is tightly sealed.
8. Can I store leftover biryani?
Yes. Store it in an airtight container in the refrigerator for up to 3 days. Reheat gently with a splash of water to restore moisture.
Nutrition
Hyderabadi Chicken Biryani is a rich, complete meal that provides a balance of carbohydrates, protein, and fats. The exact nutrition values may vary depending on portion size, oil/ghee quantity, and ingredients used.
- Calories: 450–650 kcal
- Protein: 20–30 g
- Carbohydrates: 55–75 g
- Fat: 15–25 g
- Fiber: 2–4 g
- Sodium: Moderate to High (depending on salt and spices)
Nutritional Highlights
- Good source of high-quality protein from chicken
- Provides long-lasting energy from basmati rice
- Contains healthy fats from ghee or cooking oil
- Rich in spices and herbs that aid digestion (like cumin, cloves, and mint)
Note
For a lighter version, you can reduce oil/ghee and use lean chicken cuts. Adding more vegetables can also improve fiber content and overall balance.
Conclusion
Hyderabadi Chicken Biryani is more than just a recipe—it’s a layered cooking experience that combines aroma, technique, and patience. When done correctly, every bite delivers rich spices, tender chicken, and perfectly separated rice grains.


